2 minutes
Worker Setup - Part 1
It’s Been A Long Time
I have neglected my blog for a while and have really been out of touch with tech for a bit. In my current role at my full time job I am pretty much hands off :(. In any case, I figured this would be a good time to get back into working on my lab at home and wanted to begin by automating the steps to bring a worker online. I have been away so long I needed to review the hugo quickstart to remember how to add a post to the blog. The approach I am going to take is to start off by going through all the steps from the beginning and then review and automate each part.
Step 1
First off I will grab one of these old Intel NUCs that I have lying around.
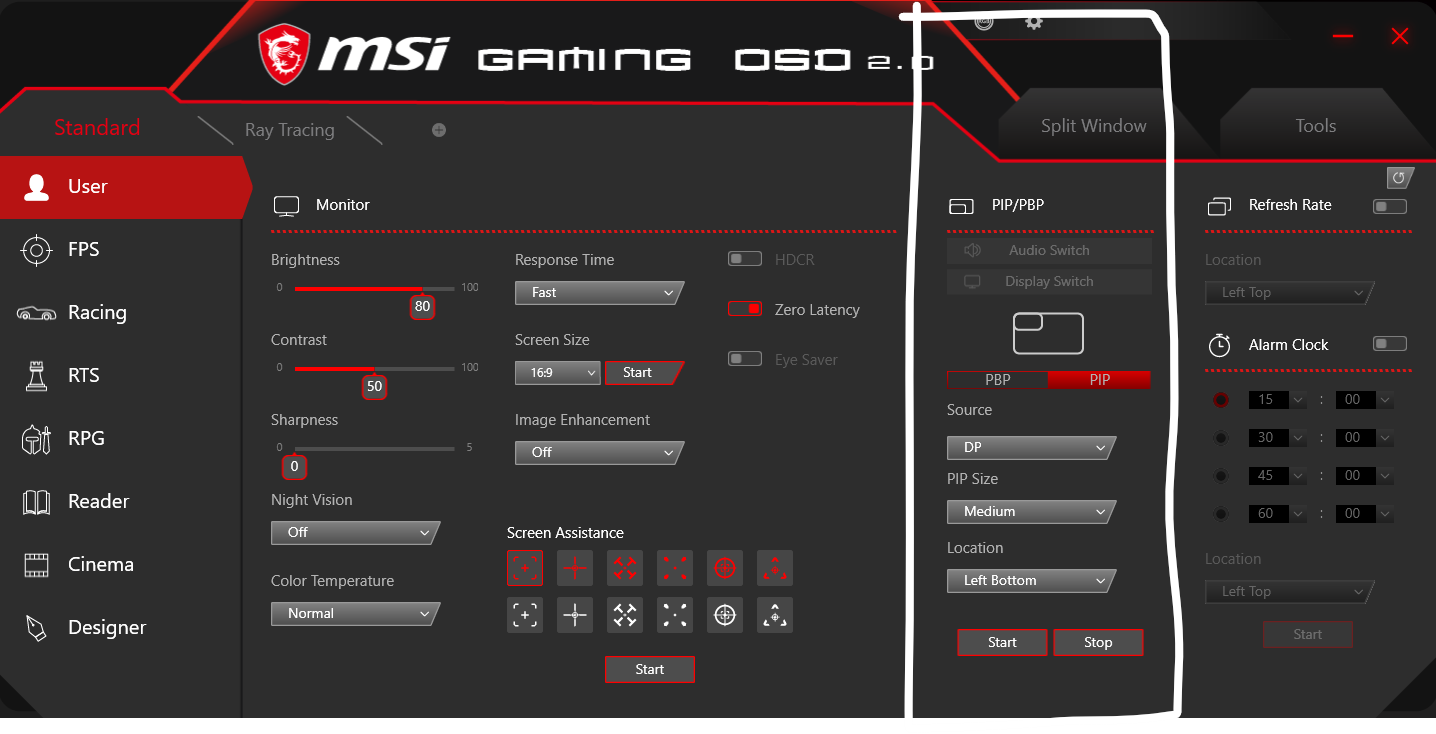
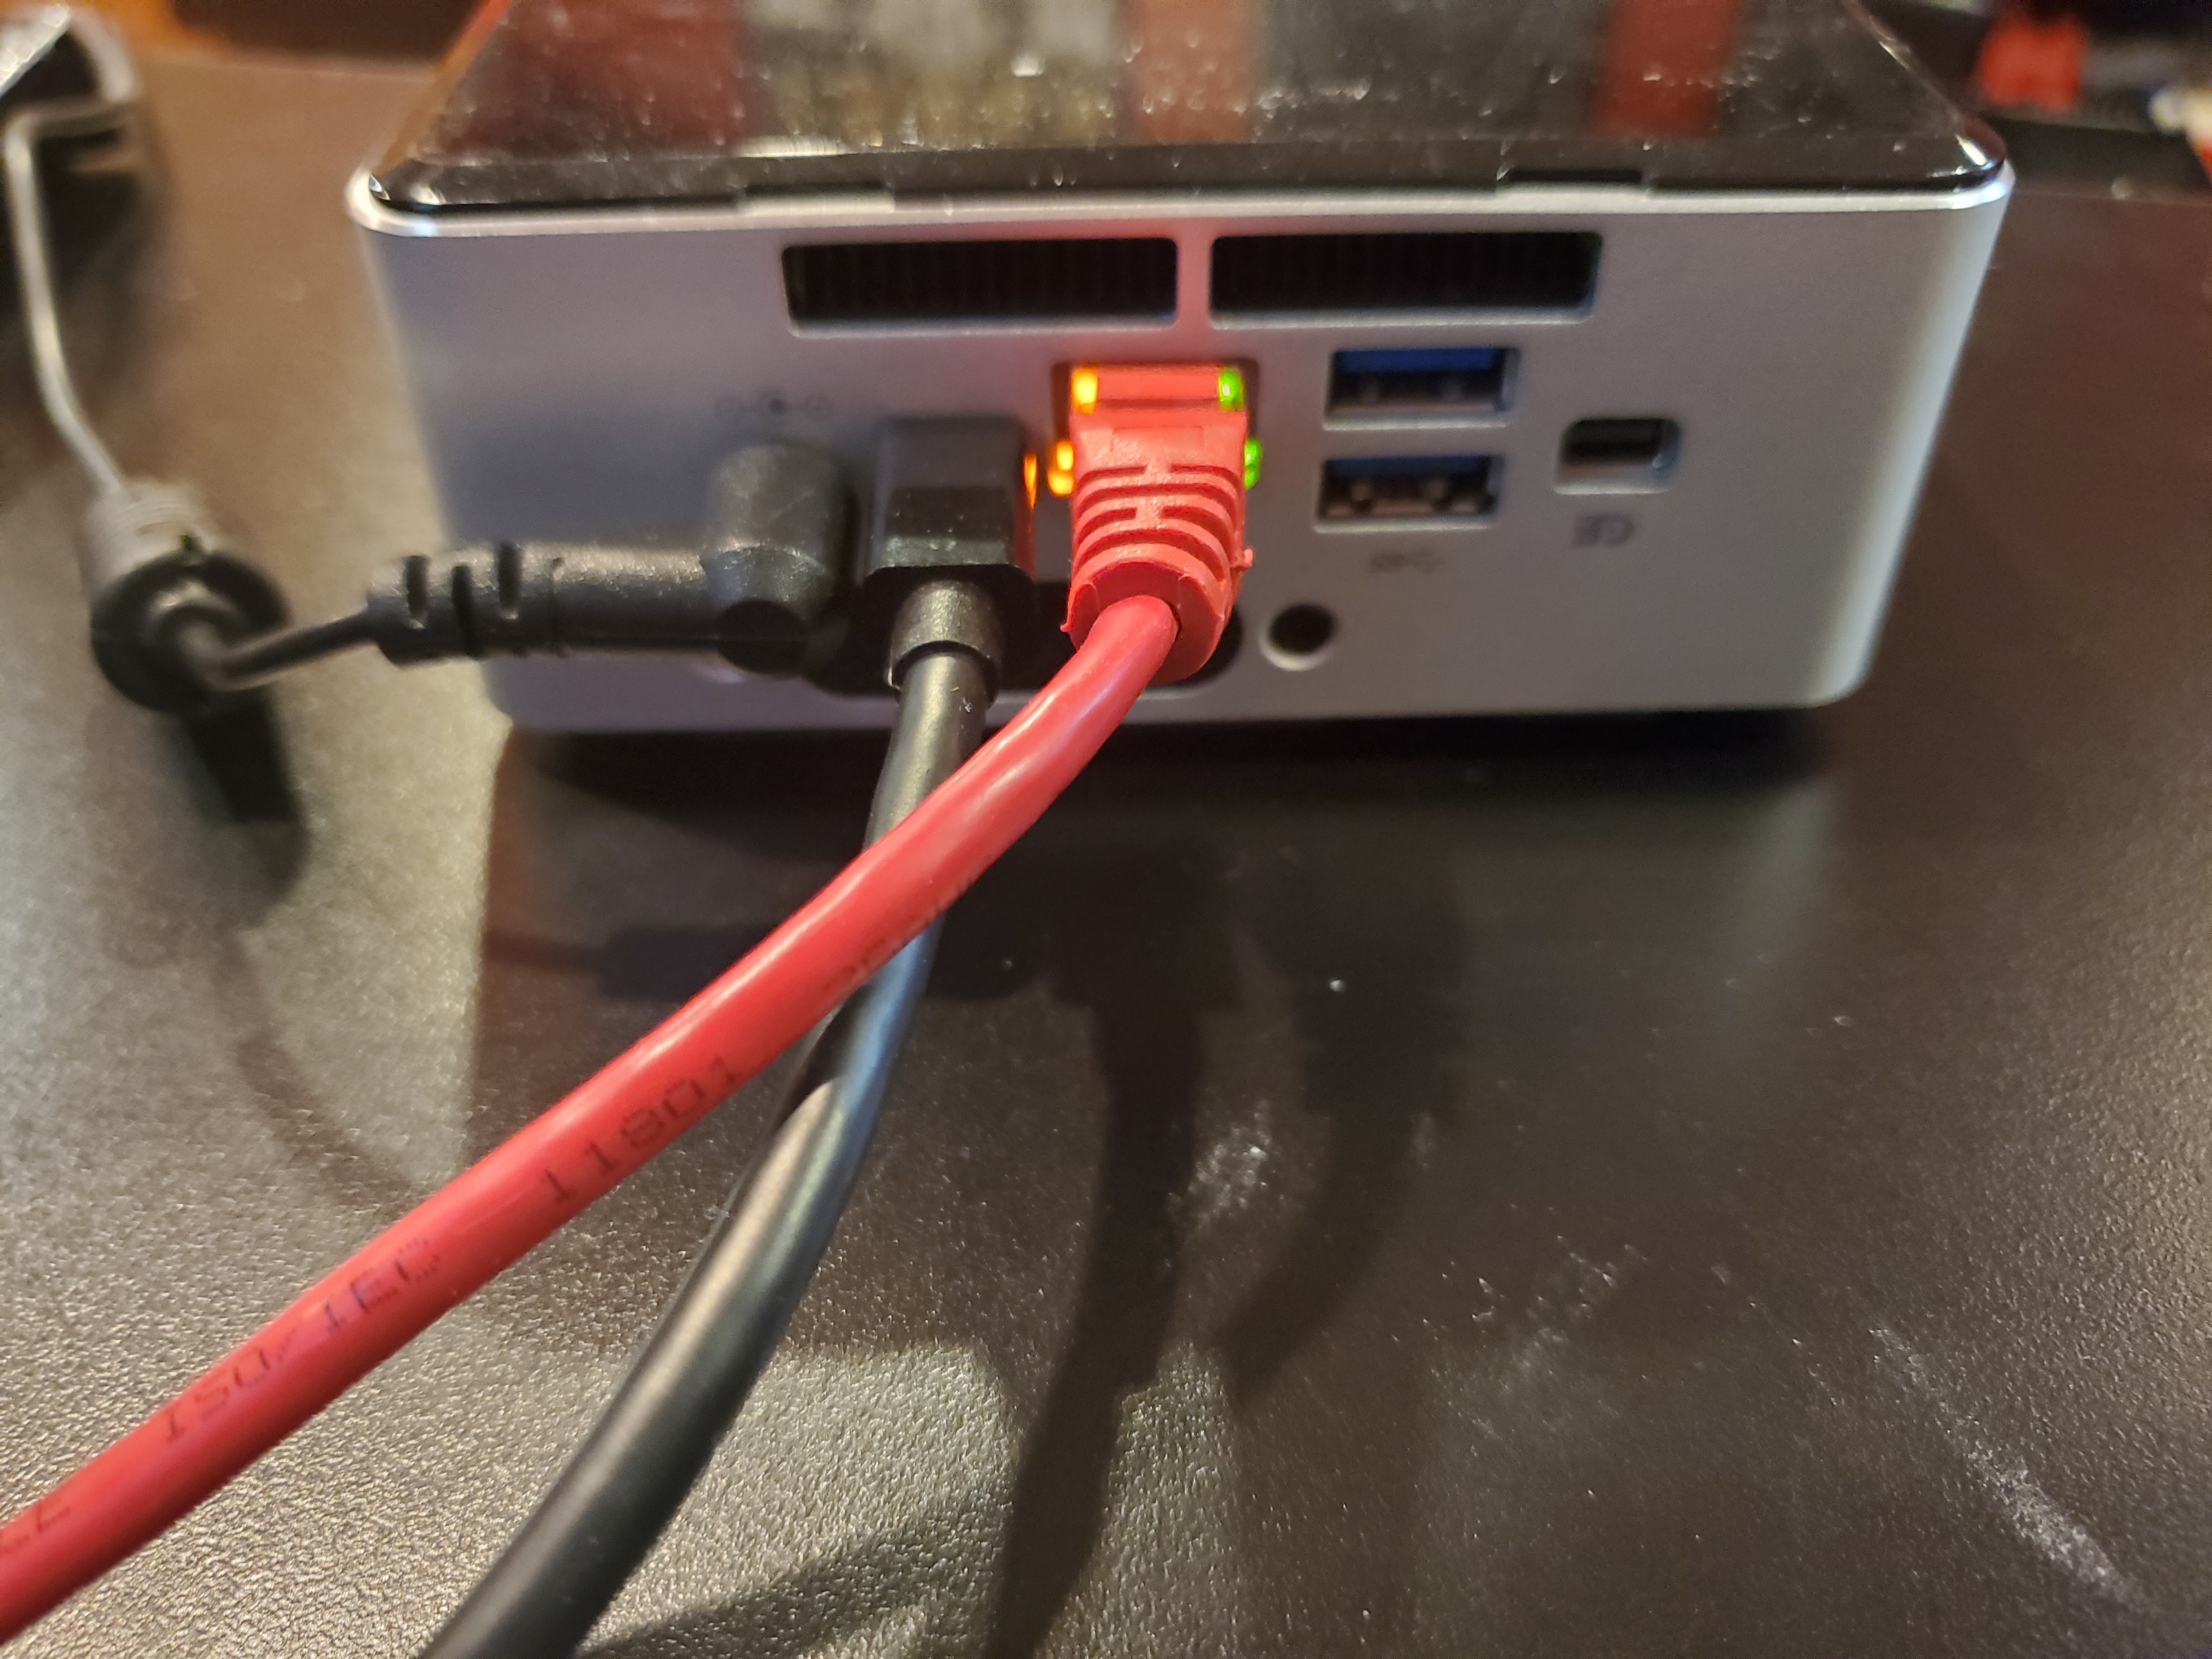 Then I wired it up to my network, power, and one of the other ports on my monitor. I like to do all of my work at the same work station so I tend to use the pip features that my monitor has:
Prepare the Image
Grabbing the OS ISO
Next I head over to CentOS to grab the OS I’d like to provision on the host (this will soon be replaced with something from the folks over at Rocky Linux :)).
Preparing the Media
Since I don’t have anything setup to serve out these images yet, I need to do it the old fashioned way with bootable media. I use rufus for creating bootable media on windows, works like a charm.
Install
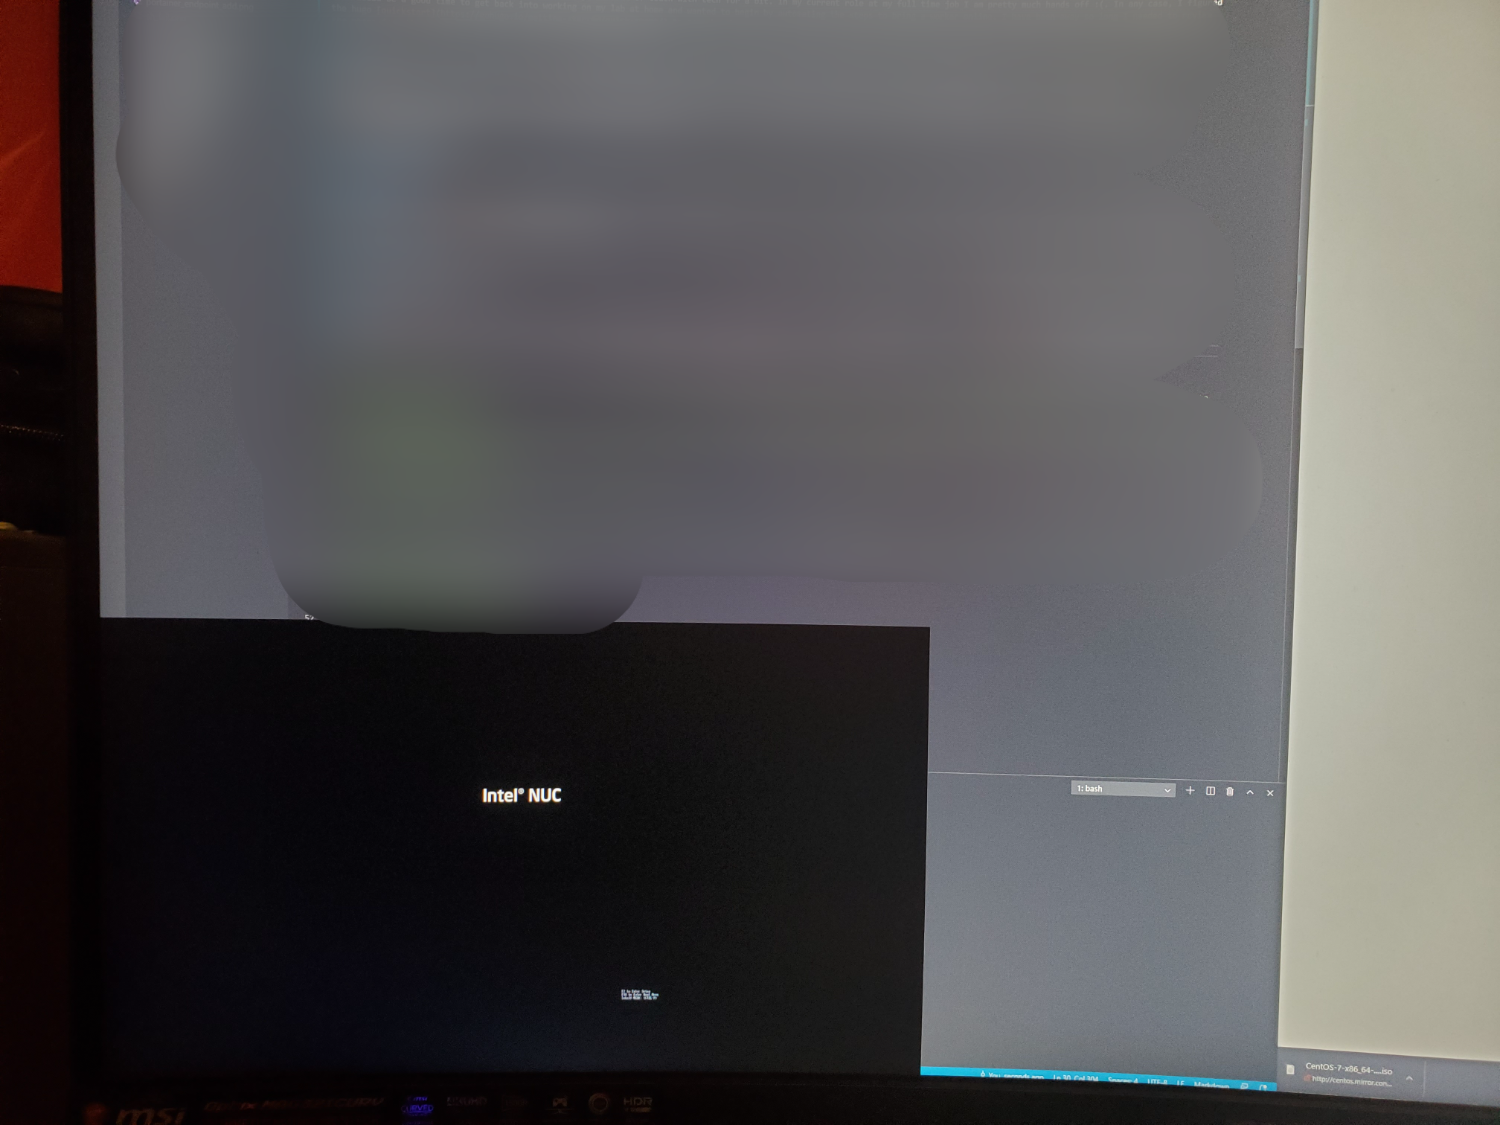
Now I just slap the stick in the NUC and boot with the PIP display running. I had to take a screen cap of it with my phone because the snipping tool does not see the PIP display.
 I walk throught the manual install of CentOS on the worker. As soon as it’s complete I just make sure to change the address on NIC to be static and then reserve it in my dhcp config:
Then I am good to shut it down and place it where it will remain and boot it back up.
Configure
Now I need to make sure that I have all the tools and things that I will need installed on this host to run whatever services I decide I would like to deploy here.